How to Repair a Tent: Fix Rips, Leaks & Broken Poles
Learn how to repair a tent — fix fabric tears, patch leaks, mend broken poles, and unstick zippers with field and home repair instructions.
A torn rainfly, a stuck zipper, or a snapped pole can end a camping trip — unless you know how to repair a tent on the spot. Most tent damage looks worse than it actually is, and nearly every common problem can be repaired in under 30 minutes with the right supplies.
The alternative is expensive. A new three-season tent costs $150-500, and most damage that forces replacement could have been fixed with a $15 repair kit.
This guide shows you how to repair a tent yourself: fabric tears and holes, leaky seams, broken poles, and stuck or broken zippers. Each section includes a field fix (what to do at camp) and a proper home repair (what to do when you get back).
Why Tent Repair Matters
Tent fabric is designed to be lightweight, not durable. Nylon and polyester walls are typically 20-70 denier — thin enough that a branch snag, a dog’s claw, or a cooking spark can punch through. Denier measures the weight of the thread in grams per 9,000 meters; a 20-denier fabric weighs roughly 20 grams per 9,000 meters of thread. The good news is that modern repair materials bond nearly as strong as the original fabric.
Most tent damage falls into four categories:
- Fabric tears and holes — caused by branches, rocks, pets, or equipment pressure. These range from pinhole punctures to 6-inch gashes, and the repair method depends on the size and location of the tear.
- Leaky seams — sealant degrades from UV exposure and temperature cycling after 2-3 seasons. Factory seam tape peels and flakes, letting water seep through at the worst possible moment — usually 3 AM during a thunderstorm.
- Broken poles — usually from wind gusts or stepping on them during setup. Fiberglass poles splinter, aluminum poles bend and crack at the ferrule joints. Both can be fixed with basic supplies.
- Zipper failures — stuck sliders, separated teeth, or track damage from dirt buildup. Zipper problems are the most frustrating because a stuck door can make the tent unusable even when the fabric and poles are fine.
Learning how to repair a tent covers 95% of the problems you will encounter in the field. The tent repair techniques in this guide are the same ones used by professional gear repair shops — the difference is the labor cost, which runs $30-80 per repair at most shops. The other 5% — structural failure, massive tears, or delaminated coatings — usually means it is time for a new tent.
Essential Tent Repair Kit
Pack these items and you can fix virtually any tent problem at camp:
- Seam sealer — McNett Seam Grip or Aquaseal for sealing seam leaks and small holes
- Repair tape — Tenacious Tape by Gear Aid (clear and fabric-matched colors available)
- Needle and thread — heavy-duty nylon thread for sewing larger tears
- Pole repair sleeve — a short aluminum tube that slides over broken pole sections
- Duct tape — the universal field fix for poles, tears, and temporary patches
- Zipper lubricant — a wax stick, bar soap, or graphite pencil for stuck zippers
- Replacement pole sections — carry one or two spare sections that match your tent’s pole diameter
The total cost for a complete kit is $20-35. Most of these items also work for sleeping pad repairs, jacket fixes, and tarp patching — so they pull double duty across your camping gear.
Keep your repair kit in a ziplock bag inside your tent stuff sack. Moisture degrades Seam Grip and makes tape less adhesive, so dry storage matters. Check your kit once a year — Seam Grip has a shelf life of about 2 years, and Tenacious Tape can dry out if the packaging is opened. Replace expired items before your first trip of the season.
If you camp with kids or dogs, double the amount of repair tape you carry. Paws and branches cause the majority of field-repairable damage, and running out of tape halfway through a trip is frustrating.
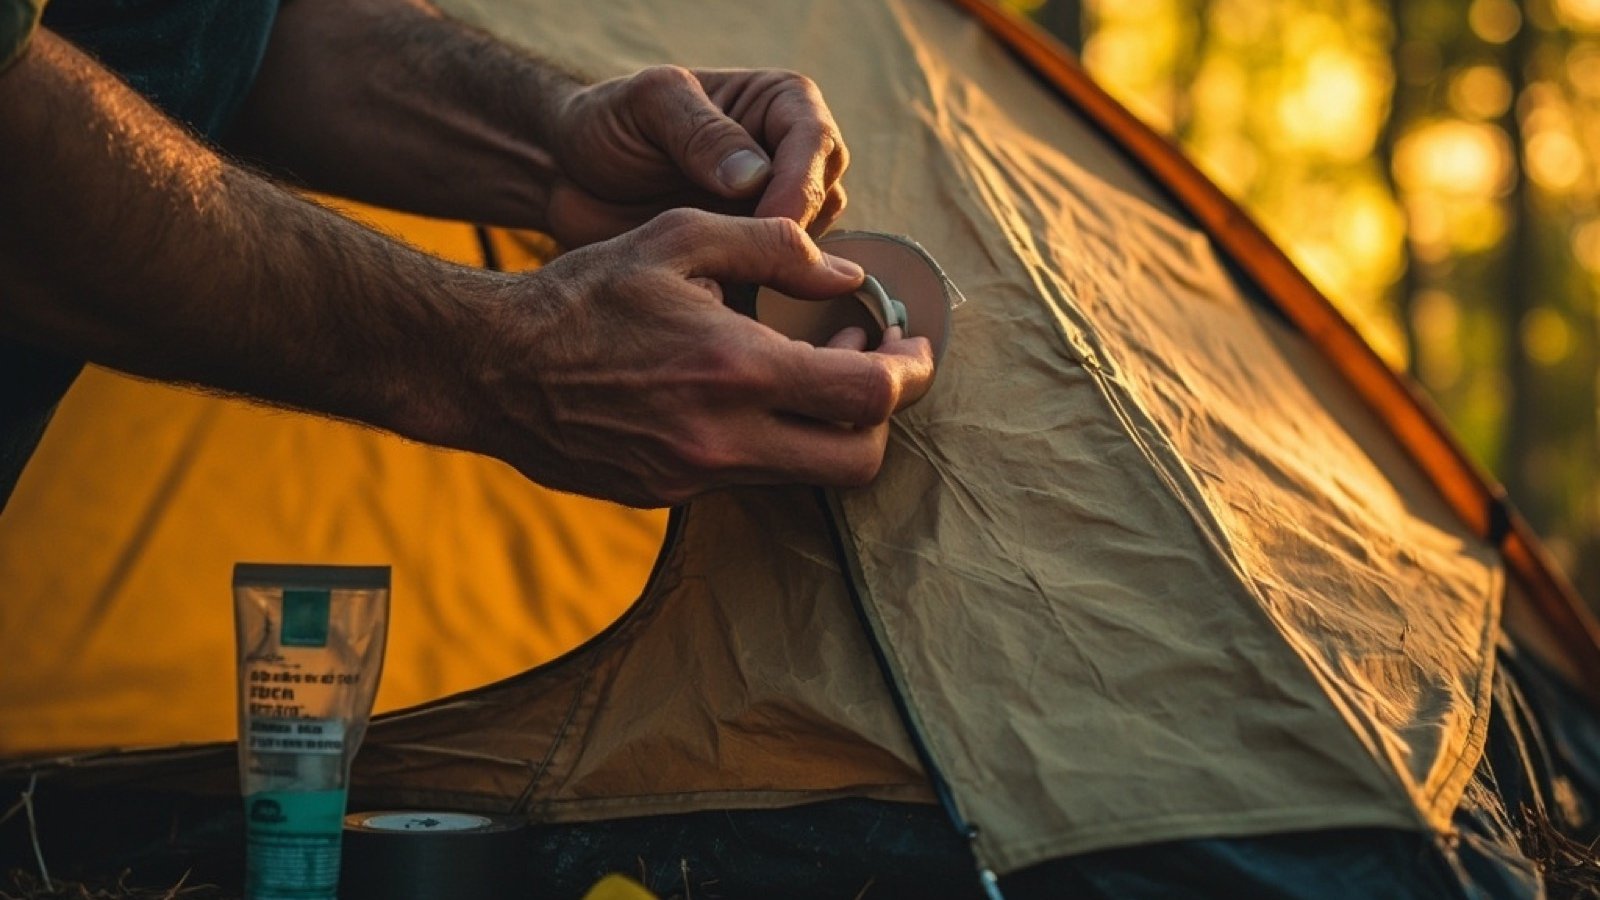
How to Fix a Rip or Tear in Tent Fabric
Small tears are the most common tent damage and the easiest to fix. The approach depends on tear size and location.
Small Tears (Under 1 Inch)
- Clean the area around the tear with water and let it dry completely
- Cut a piece of Tenacious Tape 1 inch larger than the tear on all sides
- Round the corners of the tape — square corners peel faster in wind and rain
- Press the patch flat against the fabric and hold for 30 seconds
- The adhesive bonds permanently to nylon, polyester, and mesh
Large Tears (1-3 Inches)
For tears wider than an inch, reinforcement is needed. Place a piece of duct tape on the inside of the tear as a backing. Then apply Tenacious Tape on the outside, overlapping the tear by at least 1 inch on each side. The duct tape backing distributes tension so the Tenacious Tape does not peel under wind pressure.
At home, replace the duct tape backing with a sewn patch using heavy-duty nylon thread. Sew around the perimeter of the patch with small, tight stitches (6-8 per inch).
Mesh Panel Tears
Mesh is trickier because standard repair tape does not bond well to the thin netting. Use mesh-specific repair tape (Gear Aid makes a mesh patch kit) or sew the tear closed with a curved needle and fine nylon thread. Overlap the edges slightly and stitch in a zigzag pattern for the strongest hold.
If the mesh panel is a door or window, consider replacing the entire panel at home. Most tent manufacturers sell replacement panels for $20-40, and the installation requires basic sewing skills.
How to Repair Leaky Seams
Seam leaks are the most frustrating tent problem because they are hard to spot and they drip water onto your sleeping bag all night. Seam sealant degrades naturally from UV exposure, heat, and moisture — most tents need seam re-sealing every 2-3 years.
Identify the Leaks
Set your tent up in the yard and spray it with a garden hose. Have someone watch from inside and mark each drip point with painter’s tape. Focus on seams around the roof, corners, and where the rainfly attaches to the body.
Clean and Seal
- Set the tent up and identify all leaky seams (see above)
- Clean each seam with rubbing alcohol and let it dry
- Apply a thin, even bead of seam sealer along the inside of the seam
- Extend the sealer 1/4 inch past each end of the seam
- Let it cure for 12-24 hours in a dry, well-ventilated area
For rainfly seams, seal both the inside and outside.
| Sealant | Best For | Cures In | Bonds To |
|---|---|---|---|
| Seam Grip | Seam leaks, small holes | 12-24 hours | Nylon, polyester, mesh, vinyl |
| Aquaseal | Wetsuit seams, heavy-duty patches | 8-12 hours | Neoprene, nylon, rubber |
| Tenacious Tape | Fabric tears, punctures | Instant | Nylon, polyester, canvas |
| Seam Sure | Lightweight seam sealing | 2-4 hours | Nylon, polyester |
According to Gear Aid (the leading tent repair product manufacturer), Seam Grip has been the industry standard adhesive for outdoor gear repair since 1981, with over 40 million units sold.
If you want a thorough refresh, re-seam the entire tent — it takes about an hour and prevents future leaks from surprises during a storm. This is especially important if you notice your tent leaking at the seams during a trip, since condensation buildup can worsen existing seam leaks.
How to Fix a Broken Tent Pole
Tent poles snap most often at the ferrule (the metal joint where two sections connect). Wind gusts, improper setup angles, and accidental pressure from leaning or stepping on the tent are the usual causes.
Field Fix: The Splint Method
Find the break and straighten the bent section as much as possible. Slide a tent stake alongside the broken section as a splint. Wrap the stake and pole together tightly with duct tape — use 4-5 wraps and pull each wrap tight. The repaired section will be slightly shorter but fully functional for the rest of your trip.
Home Fix: Pole Repair Sleeve
A pole repair sleeve is a short aluminum tube slightly larger in diameter than your tent pole. Slide the sleeve over the broken section so it bridges the break on both sides. Tape it in place with duct tape or, for a cleaner fix, use two small sheet metal screws through the sleeve into the pole sections.
If your pole has a shock cord running through the center and the cord is frayed or broken, restring it. Cut a new length of elastic shock cord about 75% of the fully assembled pole length. Thread it through all sections using a length of wire as a guide, tie knots at both ends, and your poles snap together like new.
When to Replace
Replace pole sections if the aluminum is cracked lengthwise (not just bent), if the ferrule is stripped and will not hold sections together, or if the same section has broken more than twice. Most manufacturers sell replacement pole sections for $5-15 each.
How to Fix a Stuck or Broken Tent Zipper
Zipper problems fall into three categories: stuck zippers, broken sliders, and separated teeth. Each has a different fix.
Stuck Zipper
Do not force it — you will tear the fabric or damage the track. Instead, lubricate the zipper with bar soap, a candle, a crayon, or a dedicated zipper lubricant stick. Work the lubricant into the teeth on both sides of the stuck point, then gently wiggle the slider back and forth while pulling. It usually frees within a few tries.
If dirt or sand is causing the stick, rinse the zipper track with clean water first, let it dry, then lubricate.
Broken Slider
When the slider stops closing the zipper teeth together, the slider itself is worn out. Buy a replacement zipper slider ($3-5 at any outdoor store or online). Remove the old slider by prying it open with pliers or cutting the zipper stop at the end. Thread the new slider onto the zipper track — this is the tricky part. Use needle-nose pliers to guide both sides of the track into the slider channel, then zip it closed to test. Crimp the new slider gently with pliers so it does not slide off.
Separated Teeth
If the zipper teeth have come apart but the slider is fine, the zipper simply opened from the wrong end. Start from the bottom of the zipper (the closed end) and carefully re-zip the entire track, making sure both sides of teeth feed into the slider evenly. If teeth are bent or missing, the zipper needs professional repair or full track replacement.
Tent Repair Prevention Tips
Most tent damage is preventable. According to a 2024 survey by the Outdoor Industry Association, 62% of premature tent replacements are caused by poor storage and maintenance rather than manufacturing defects or field accidents.
A few habits will dramatically reduce how often you need to break out the repair kit:
- ✅ Clean and dry your tent after every trip — dirt holds moisture against the fabric and accelerates coating degradation
- ✅ Store your tent in a loose mesh bag (never compressed) — read our tent storage guide for the full method
- ✅ Re-apply DWR waterproofing spray once a year and re-seam major seams every 2-3 years
- ✅ Inspect poles, zippers, and seams before each trip
- ✅ Use a footprint or tarp under the tent
- ✅ Avoid wearing shoes inside the tent
- ❌ Never store a wet tent (mold forms in 24-48 hours)
- ❌ Never fold a tent along the same crease repeatedly
- ❌ Never use a washing machine or dryer
- ❌ Never leave a tent set up in direct sun for weeks
- ❌ Never force a stuck zipper
Before You Go
Tent repairs are straightforward once you know the techniques. The biggest mistake campers make is not carrying a repair kit — a 2-ounce patch kit can save a $300 tent and a weekend trip. Pack one, learn these fixes, and you will handle almost anything the backcountry throws at your shelter.
If your tent is beyond repair or you are shopping for a replacement that is easier to maintain, check out our tent buying guide for recommendations on durable tents with repair-friendly designs — look for models with pole sections you can buy individually, full-length rainfly seams that are easy to re-seal, and YKK zippers with replaceable sliders.
Frequently Asked Questions
Can you use duct tape to repair a tent?
Duct tape works as a temporary field fix for small tears and pole breaks, but it leaves adhesive residue and degrades in heat and rain. For a lasting repair, use Tenacious Tape (by Gear Aid) on fabric and a pole repair sleeve on broken poles. Duct tape should be removed and replaced with proper repair materials as soon as you get home.
What is the best glue for tent repair?
Seam Grip (by Gear Aid) is the best all-purpose adhesive for tent repairs — it bonds nylon, polyester, mesh, and vinyl, and it stays flexible after curing. For seam leaks, use Aquaseal or a dedicated seam sealer. Avoid super glue, which becomes brittle and cracks when the fabric flexes.
Is it worth repairing a cheap tent?
If the tent costs under $50 and the damage covers more than 10% of the fabric area, replacement is usually cheaper. For tents in the $100-500 range, repairs almost always make sense — a $10 repair kit can add years of use. Compare the repair cost to the replacement cost and consider whether the tent still fits your needs.
How do I find a leak in my tent?
Set the tent up and have someone spray the outside with a garden hose while you watch from inside. Focus on seams, corners, and around zippers. For slower leaks, spray section by section and wait 5-10 minutes for water to seep through.
Can a broken tent pole be repaired?
Yes. For a field fix, splint the broken section with a tent stake and wrap tightly with duct tape. For a permanent fix, slide a pole repair sleeve over the break and tape it in place. If the shock cord is frayed, restring the poles with new cord.