How to Waterproof a Tent: Complete Step-by-Step Guide
Learn how to waterproof a tent in 4 steps: clean, seal seams, refresh PU coating, and apply DWR spray. Includes product picks and common mistakes.
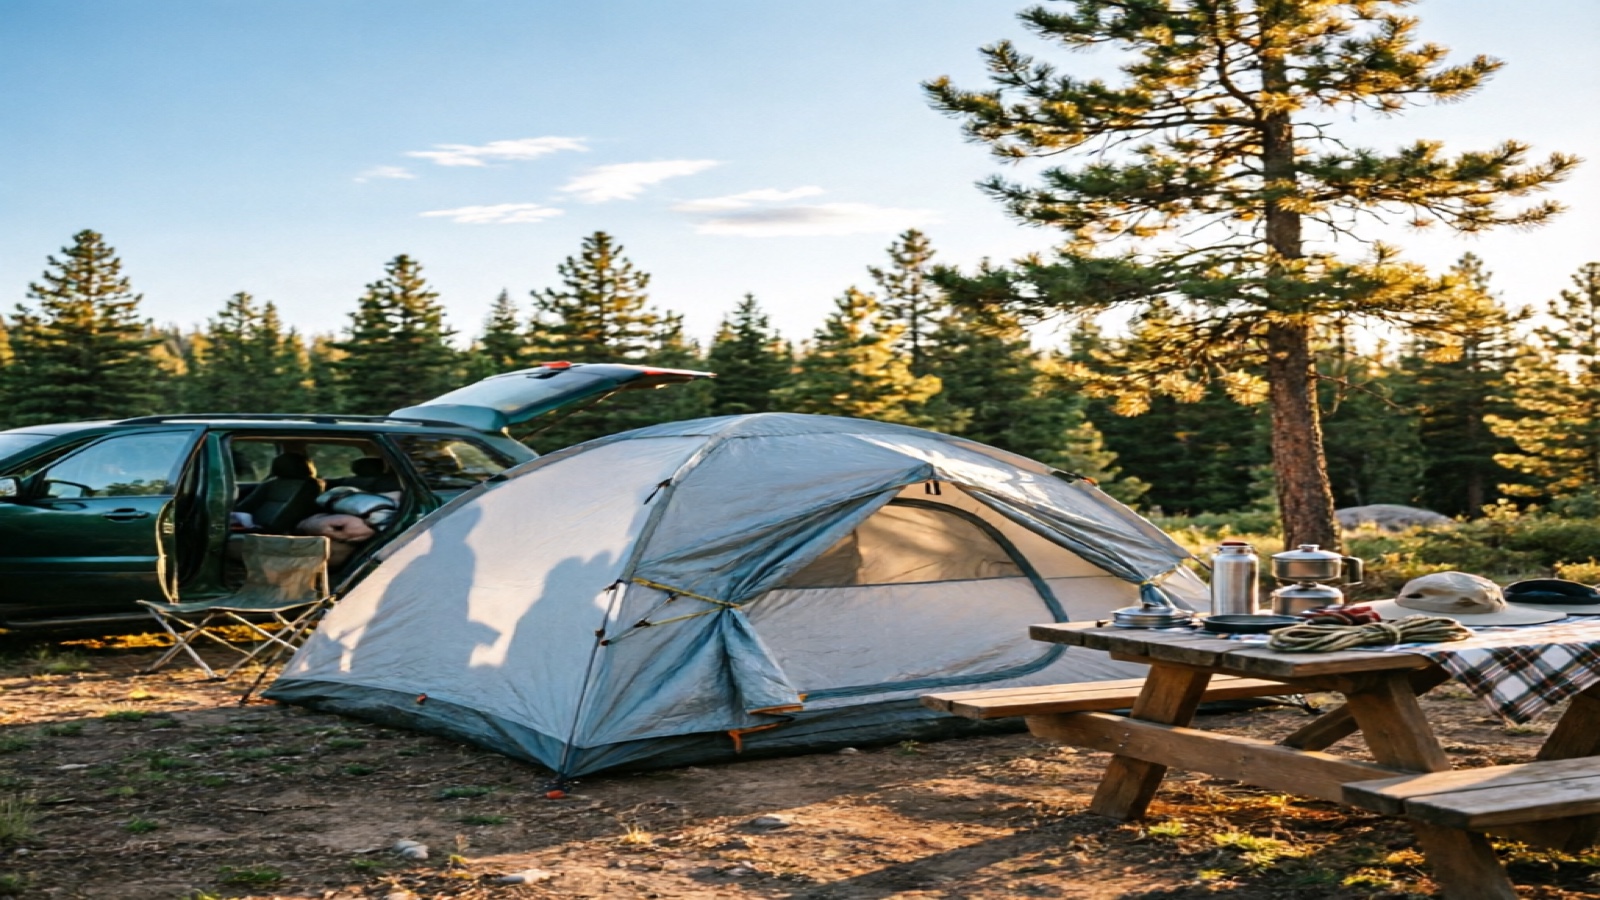
A leaking tent turns a camping trip into a miserable experience — wet sleeping bag, soaked gear, and a long drive home. Most tent “leaks” aren’t actual failures. They’re maintenance issues.
Seam tape peels, PU coating delaminates, and DWR wears off after 1–2 years of use. All three are fixable in an afternoon with $20–$50 in products. Learning how to waterproof a tent properly saves you money and keeps you dry trip after trip.
REI recommends that campers waterproof a tent annually [source: rei.com/learn/expert-advice/how-to-waterproof-a-tent], yet most people never do it. Multiple Reddit threads with dozens of answers show how many campers struggle with tent leaks and don’t know how to waterproof a tent [source: reddit.com/r/camping].
This guide covers the complete process of how to waterproof a tent: diagnosing where your tent leaks, step-by-step treatment, and the best products for each job.
Why Tents Leak and How to Diagnose the Problem
Tents leak from three specific areas. Before you try to waterproof a tent, diagnose which one (or more) is causing your leak — applying the wrong fix wastes time and money.
| Leak Type | Symptoms | Cause | Fix |
|---|---|---|---|
| Seam leak | Water drips from stitched seams, visible thread holes | Factory seam tape peeling, needle holes not sealed | Seam sealer (below) |
| Floor leak | Water seeps up through the tent floor, wet sleeping bag | PU coating delaminating (flaking/sticky), abrasion wear | PU coating refresh |
| Rainfly soak-through | Rainfly absorbs water instead of beading, water passes through | DWR coating worn off, fabric no longer repels water | DWR spray |
How to test your tent at home before a trip:
-
Seam test — set up the tent, have someone spray the outside seams with a hose while you check inside for drips.
-
Floor test — fill a spray bottle and spray the floor. Watch for water seeping through from below.
-
Rainfly test — spray the rainfly exterior. Water should bead and roll off. If the fabric turns dark and absorbs water, DWR is gone.
When you’re shopping for a new tent, look for a hydrostatic head (HH) rating of at least 1,500mm for the rainfly and 3,000mm+ for the floor. Higher numbers mean better water resistance.
What You Need to Waterproof a Tent
Four products cover every waterproofing job when you want to waterproof a tent. You don’t need all four for every treatment — use the diagnostic table above to figure out what your tent actually needs.
| Product | What It Does | Cost | When to Use |
|---|---|---|---|
| GEAR AID Seam Grip TF | Seals seams, restores PU coating on nylon/polyester | $23.95 (2-pack) | Seam leaks, pinholes, flaking floor |
| Nikwax Tent & Gear Care | Restores DWR water repellency to tent fabric | $19.95 | Rainfly no longer beads water |
| Scotchgard Outdoor Water Shield | Budget DWR spray for tents, backpacks, awnings | $8–$12 | Cheap DWR alternative |
| Granger’s Performance Repel Plus | DWR spray alternative, PFC-free formula | $16.31 | Eco-friendly DWR option |
Additional supplies you’ll need:
- Rubbing alcohol (for cleaning seams before sealing)
- Clean rag or sponge
- Paintbrush or applicator brush (for PU coating)
- Drop cloth or tarp (work area protection)
- Masking tape (optional, for clean seam lines)
Keep these items on your car camping checklist for seasonal maintenance. When you waterproof a tent for the first time, the whole process takes 3–4 hours plus curing time — plan ahead.
Step 1 — Seal the Seams
Seam sealing is the most important step when you waterproof a tent. Seams are the #1 source of tent leaks because every stitch creates a needle hole that water can pass through.
Step-by-step process:
-
Set up the tent. Seam sealing is easiest with the tent pitched taut so you can access both sides of each seam. Turn the rainfly inside out for better access to the underside seams.
-
Clean the seams. Wipe each seam with rubbing alcohol on a clean rag. Remove all dirt, oils, and old flaking tape. Let dry for 5–10 minutes. This step is critical — dirt prevents the sealer from bonding.
-
Identify which seams to seal. Seal ALL seams on the rainfly (ridgeline, corners, guy-out points) and the floor seams. Focus on the inside (underside) of the rainfly and the inside (top side) of the floor. That’s the side water pressure pushes against.
-
Apply seam sealer. Use GEAR AID Seam Grip TF with the built-in brush applicator. Apply a thin, continuous bead along each seam line, covering all stitching holes. One tube seals an average 2-person tent.
-
Extend ½ inch past seam intersections. Corners and intersections where seams meet are the weakest points. Extend the sealer ½ inch beyond the junction in each direction.
-
Let cure for 12–24 hours. Seam Grip needs at least 12 hours to cure at room temperature. Don’t touch or fold the tent during curing. 24 hours is ideal before packing.
-
Test. Spray the sealed seams with a hose and check inside for any remaining drips.
Common mistakes to avoid:
- Skipping the cleaning step — even invisible oils from your hands prevent bonding
- Applying too thick — a thin bead cures stronger than a glob
- Not curing long enough — the sealer stays tacky and won’t hold up to rain
- Sealing the outside only — always seal the side water pushes against
Step 2 — Refresh the PU Coating
To fully waterproof a tent, you need to address the polyurethane (PU) coating applied to the inside of the rainfly and the top of the tent floor. It creates a waterproof barrier that water cannot penetrate. Over 1–3 years, UV exposure and abrasion cause the PU to delaminate — it flakes off, becomes sticky, or turns cloudy.
Signs you need a PU refresh:
- Flaking or peeling coating on the inside of the rainfly or floor
- Sticky residue when you touch the coated surface
- Water seeping through the floor during use
- Cloudy or opaque appearance where the coating should be clear
Application steps:
-
Clean the surface with rubbing alcohol. Gently rub off any old flaking PU with a cloth — don’t use abrasive scrubbers or you’ll damage the fabric underneath.
-
Tape off areas you don’t want coated with masking tape.
-
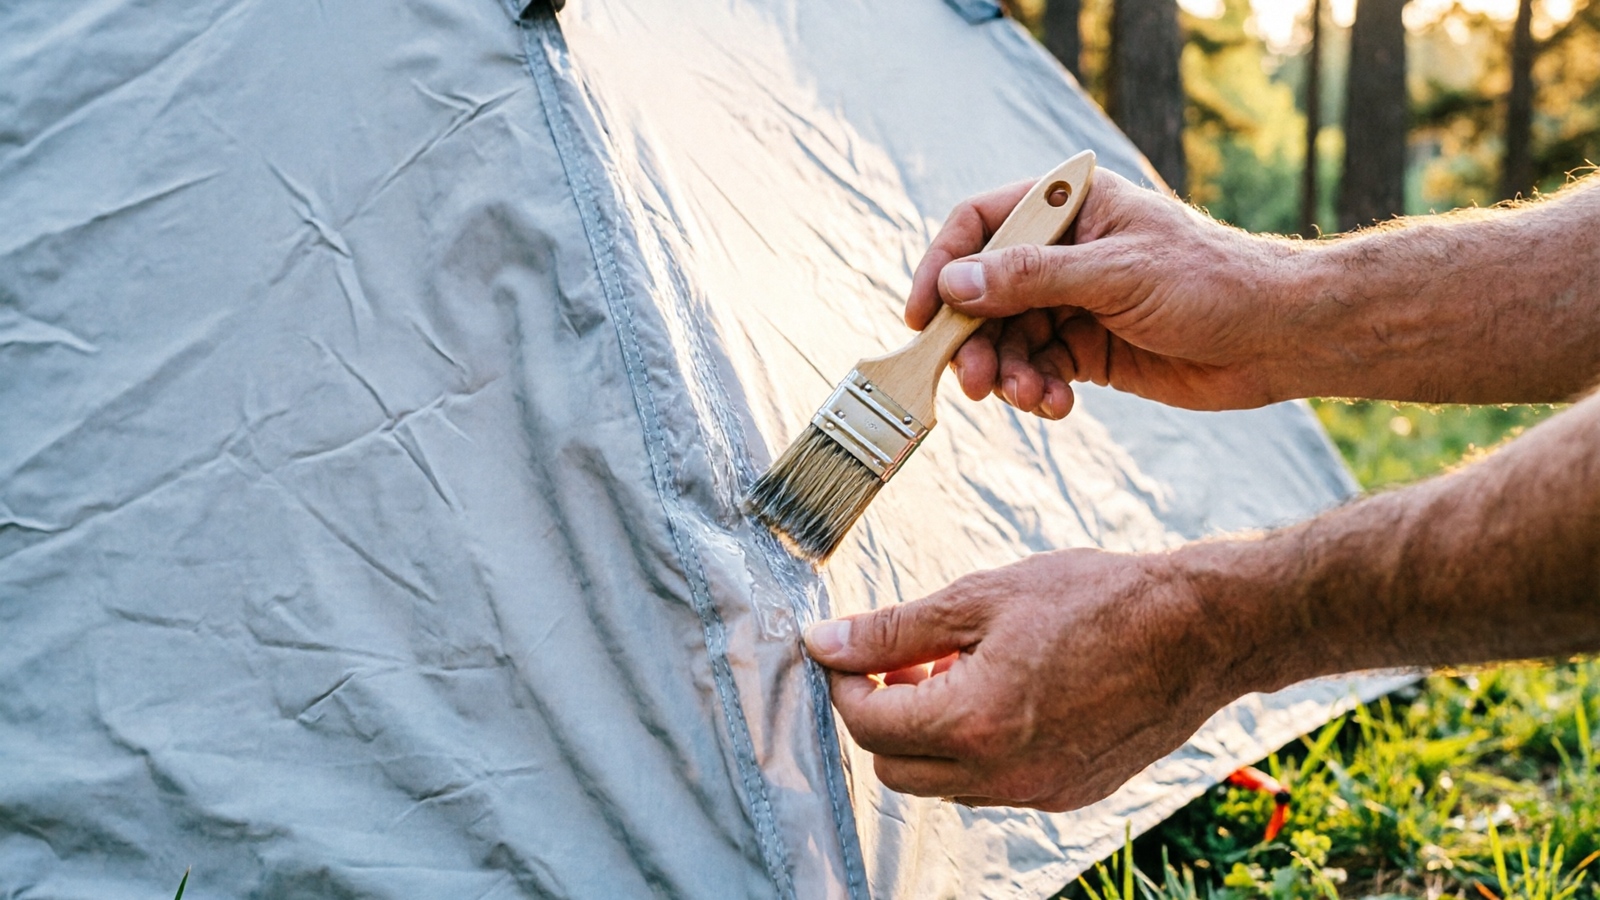
Apply a thin, even coat of GEAR AID Seam Grip TF with a paintbrush. This product works as both a seam sealer and PU coating restorer.
-
Apply to the inside of the rainfly and the top side of the floor.
-
Let dry for 24 hours at room temperature.
-
Apply a second coat for best results. Two thin coats are stronger than one thick coat.
-
Cure for 48 hours total before using the tent.
Safety tip: do this in a well-ventilated area — PU coating products have strong fumes. A garage with the door open or a shaded outdoor spot works well. Keep away from open flames.
Step 3 — Apply DWR Spray to the Rainfly
The third step to waterproof a tent is applying Durable Water Repellent (DWR) — a chemical treatment that causes water to bead up and roll off the fabric surface. It doesn’t make the fabric waterproof by itself — the PU coating handles that. But DWR prevents the outer fabric from absorbing water, which keeps the tent lighter and reduces condensation buildup inside.
How to tell if DWR is worn: spray water on the rainfly exterior. If it beads and rolls off, DWR is still working. If the fabric absorbs water and turns dark, DWR is gone.
Application steps:
-
Clean the rainfly. Set it up or lay it flat, wipe with a damp cloth and mild soap if needed. Let dry completely.
-
Apply Nikwax Tent & Gear Care evenly across the entire rainfly exterior. Hold 6 inches (15 cm) from fabric and spray in sweeping passes.
-
Use a clean, damp sponge or cloth to work the spray evenly into the fabric. Don’t let it pool in one area.
-
Let dry naturally. Don’t use heat — a hair dryer or direct sun can damage the fabric and degrade the DWR treatment.
-
DWR activates as it dries. Test by spraying water after fully dry. Water should bead immediately.
DWR alternatives:
- Scotchgard Outdoor Water Shield — budget option at $8–$12, works on tents, backpacks, and awnings. Slightly less durable than Nikwax but good for occasional use.
- Granger’s Performance Repel Plus — PFC-free formula, $16.31. Good eco-friendly option if you want to avoid fluorocarbon chemicals.
Reapply DWR every 6–12 months depending on use. If you waterproof a tent regularly, the DWR is the part you’ll redo most often. A tent used monthly needs DWR refresh more often than one used twice a year.
How to Protect Your Tent Floor
If you want to know how to waterproof a tent floor, the answer starts with a footprint. A footprint is the single best investment when you waterproof a tent — it takes the abuse instead of your tent floor.
Footprint sizing matters: cut or buy a footprint slightly smaller than the tent floor. Tuck the edges under so they don’t extend beyond the tent walls. Exposed footprint edges collect rain and channel it underneath — the exact problem you’re trying to prevent.
Material options:
- Purpose-built footprint ($15–$25): sized to fit your tent model, waterproof coating, grommets for attachment
- Polycryo ground sheet ($10): ultra-light at 2 oz, durable, cut to size. Popular with backpackers
- Tarp ($10–$15): cheap and durable, but heavier. Works well for car camping
Site selection is the cheapest waterproofing there is. Clear rocks, twigs, and sharp objects before setting up. A 30-second site prep prevents months of floor wear.
For more on choosing a good campsite, check our camping guide for beginners.
Never drag your tent — pick it up to move it. Dragging across gravel or sand abrades the PU coating faster than anything else.
Tarp Over Tent — When and How
Even when you properly waterproof a tent, a tarp adds a second layer of rain protection. It catches rain before it hits your rainfly, reducing water pressure and extending the life of your waterproofing.
When to use a tarp:
- Heavy rain trips or multi-day camping in wet conditions
- Extended trips where you can’t reapply waterproofing mid-trip
- Older tents with compromised waterproofing that needs backup protection
How to set up:
- A-frame pitch: string tarp between two trees with a ridgeline, stake corners low. The classic rain shelter setup.
- Lean-to: angle tarp against one side for wind protection. Simpler setup with fewer anchor points.
- Key rule: always pitch with a slope of 15–30 degrees so water runs off. Flat tarps collapse under the weight of pooled rainwater.
A tarp is not a substitute when you waterproof a tent. It helps but doesn’t fix seam leaks or worn DWR. Waterproof the tent first, then add a tarp as backup.
For detailed tarp setup techniques, see our camping in the rain guide.
How Often Should You Re-Waterproof?
Knowing how often to waterproof a tent prevents most leak problems before they start.
Waterproofing maintenance schedule — knowing when to waterproof a tent prevents most leak problems before they start:
| Task | Frequency | Time Required | Cost |
|---|---|---|---|
| DWR spray refresh | Every 6–12 months | 30 min + 1 hr dry | $19.95 |
| Seam check | Before every trip | 5 min visual inspection | Free |
| Seam reseal | Every 1–2 years or 20–30 nights | 1–2 hr + 12–24 hr cure | $23.95 |
| PU coating refresh | Every 2–3 years or when flaking | 1–2 hr + 48 hr cure | $15–$25 |
| Full treatment | Every 2 years | 3–4 hr + 48 hr cure | $35–$50 |
Signs it’s time to re-waterproof:
- Rainfly fabric absorbs water instead of beading (DWR gone)
- Water drips from seam lines during rain (seam tape failing)
- PU coating is flaking, sticky, or peeling on floor/rainfly interior
- Floor feels damp in the morning even without rain (ground moisture seeping through worn coating)
- Tent is more than 2 years old and has never been re-waterproofed — if you’ve never learned how to waterproof a tent, now is the time
Signs you need a NEW tent instead of re-waterproofing:
- Fabric is thin, tears easily, or has UV damage (chalky white appearance)
- Poles are bent, cracked, or broken
- Zippers fail repeatedly despite cleaning and lubrication
- Waterproofing products won’t bond to heavily degraded fabric — the material has lost its structural integrity
Common Waterproofing Mistakes
These mistakes are the reason some people try to waterproof a tent and still end up with leaks. Avoid them and your first attempt will work.
Skipping the cleaning step. This is the #1 reason that attempts to waterproof a tent fail. Dirt, body oils, and old flaking coating prevent new products from bonding to the fabric. Always clean with rubbing alcohol before applying any sealer or spray.
Using the wrong sealer for your fabric. When you waterproof a tent, make sure the sealer matches your fabric type. Silicone-treated tents (like some silicone-coated nylon tarps) require a different seam sealer than polyurethane-coated tents.
Check your tent’s care label or manufacturer website before buying products. GEAR AID Seam Grip TF works on PU-coated fabrics — the most common type [source: rei.com/learn/expert-advice/how-to-waterproof-a-tent].
Applying products in direct sunlight or high heat. UV rays break down waterproofing chemicals before they cure. Apply treatments in shade or indoors with good ventilation. Heat also causes uneven drying and weak bonding.
Not waiting long enough for curing. Every product has a minimum cure time — 12 hours for seam sealer, 24–48 hours for PU coating. Rushing this step means your attempt to waterproof a tent won’t hold up to actual rain. Plan your waterproofing session at least 2–3 days before your trip.
Storing a wet tent. Even a perfectly waterproofed tent will develop mold and mildew if packed away wet. Always dry your tent completely before storing — hang it in a well-ventilated area or set it up in the yard for a few hours after each trip. Every time you waterproof a tent, you’re protecting an investment that should last years with proper care.
Frequently Asked Questions
What’s the best way to waterproof a tent?
The most reliable way to waterproof a tent is a 3-part treatment. GEAR AID Seam Grip TF, refresh the PU coating on the floor and rainfly, and apply Nikwax Tent & Gear Care DWR spray to the exterior. Clean the tent first, let each product cure fully between steps.
Can I just throw a tarp over my tent?
A tarp helps but doesn’t replace the need to waterproof a tent. Waterproof the tent first, add a tarp as backup for heavy rain. A tarp reduces water pressure on the rainfly but won’t stop seam drips or floor seepage.
Do all tents leak in heavy rain?
No. Properly maintained tents don’t leak. Leaks come from three fixable causes: seam tape peeling, PU coating delaminating, or DWR wearing off. If a brand-new tent leaks, return it — that’s a manufacturing defect.
Is it possible to re-waterproof a tent?
Yes. Anyone can learn how to waterproof a tent that’s lost its water resistance.
Re-waterproofing is standard maintenance that takes 2–4 hours plus drying time and costs $20–$50 in products. A re-waterproofed tent performs like new. The only reason to replace instead of re-waterproof is physical damage — ripped fabric, broken poles, or UV-degraded material.
How to waterproof a tent cheap?
The cheapest way to waterproof a tent: one tube of GEAR AID Seam Grip TF ($7–$10) fixes most seam leaks.
Add a can of Scotchgard Outdoor Water Shield ($8–$12) for DWR treatment. Use a tarp or footprint ($10–$20) for floor protection. Total budget waterproofing: under $30.
Frequently Asked Questions
What's the best way to waterproof my tent?
The best method is a 3-part treatment: (1) seal all seams with a seam sealer like GEAR AID Seam Grip TF, (2) refresh the polyurethane (PU) coating on the inside of the rainfly and floor, and (3) apply a DWR spray like Nikwax Tent & Gear Care to the exterior. Most tents need this full treatment every 1–2 years, or after 20–30 nights of use. Clean the tent thoroughly before applying any product — dirt and oils prevent treatments from bonding.
Can I just throw a tarp over my tent?
A tarp over your tent helps in rain, but it's a temporary fix, not waterproofing. A tarp reduces the water hitting your rainfly but doesn't address seam leaks, delaminated PU coating, or worn DWR. Use a tarp as backup protection while you properly waterproof your tent. The right approach: waterproof the tent itself first, then add a tarp over it for heavy rain trips.
Do all tents leak in heavy rain?
No — a properly maintained tent should not leak. If your tent leaks, it's almost always one of three causes: seam leaks (factory tape peeling over time), delaminated PU coating on the floor or rainfly (appears as flaking or sticky residue), or worn DWR (water no longer beads on the outside). All three are fixable with the right products. If you just bought a new tent that leaks, return it — that's a manufacturing defect.
Is it possible to re-waterproof a tent?
Yes — re-waterproofing is standard tent maintenance, not a last resort. Seam sealer, PU coating, and DWR spray are all designed to restore waterproofing to used tents. The process takes 2–4 hours (plus drying time) and costs $20–$50 in products. A tent that's been re-waterproofed performs like new. The only reason to replace a tent instead of re-waterproofing is physical damage: ripped fabric, broken poles, or UV-degraded material that tears easily.
How to waterproof a tent cheap?
The cheapest approach: one tube of GEAR AID Seam Grip TF ($7–$10) seals all seams and covers most leak sources. For under $20, add a can of Scotchgard Outdoor Water Shield ($8) for DWR treatment on the rainfly. Skip the PU coating refresh unless your floor or rainfly is visibly flaking — that's a $15–$25 product. A tent footprint ($10–$20) prevents floor abrasion that wears out the waterproof coating. Total budget waterproofing: under $30.