Camping Hammock Buyer's Guide 2026: Types, Suspension, Setup
Camping hammock buyer's guide 2026: compare gathered-end vs bridge, single vs double, suspension systems, and setup tips for every trip.
Choosing the right camping hammock comes down to five decisions: type, width, material, suspension, and accessories. Get one wrong and you’ll either freeze at 2 AM, swing sideways in the wind, or spend 20 minutes fumbling with knots when you should be sleeping. This guide walks through each decision so you can match a hammock to your trip instead of guessing.
For specific product picks, see our Best Camping Hammocks 2026 review. For tent alternatives, see Best Camping Tents 2026. And for the full backpacking sleep system, see our backpacking guide.
What You Need
| Hammock Type | Recommended Product | Best For | Weight Capacity | Packed Weight |
|---|---|---|---|---|
| Budget Single | Kootek Camping Hammock | First trip, warm weather | 400 lbs | 1.5 lb |
| Value Single | Wise Owl Outfitters | Weekend 3-season | 500 lbs | 1.0 lb |
| Double | SZHLUX Double Hammock | Couples, car camping | 500 lbs | 1.8 lb |
| All-in-One | Rivenlo 3-in-1 with Mosquito Net | Bug-heavy, all-weather | 500 lbs | 4.2 lb |
| Lightweight | SEWANTA Portable | Day hikes, backyard | 400 lbs | 1.4 lb |
How to Choose a Camping Hammock
Step 1 — Pick Your Hammock Type (Gathered-End vs Bridge)
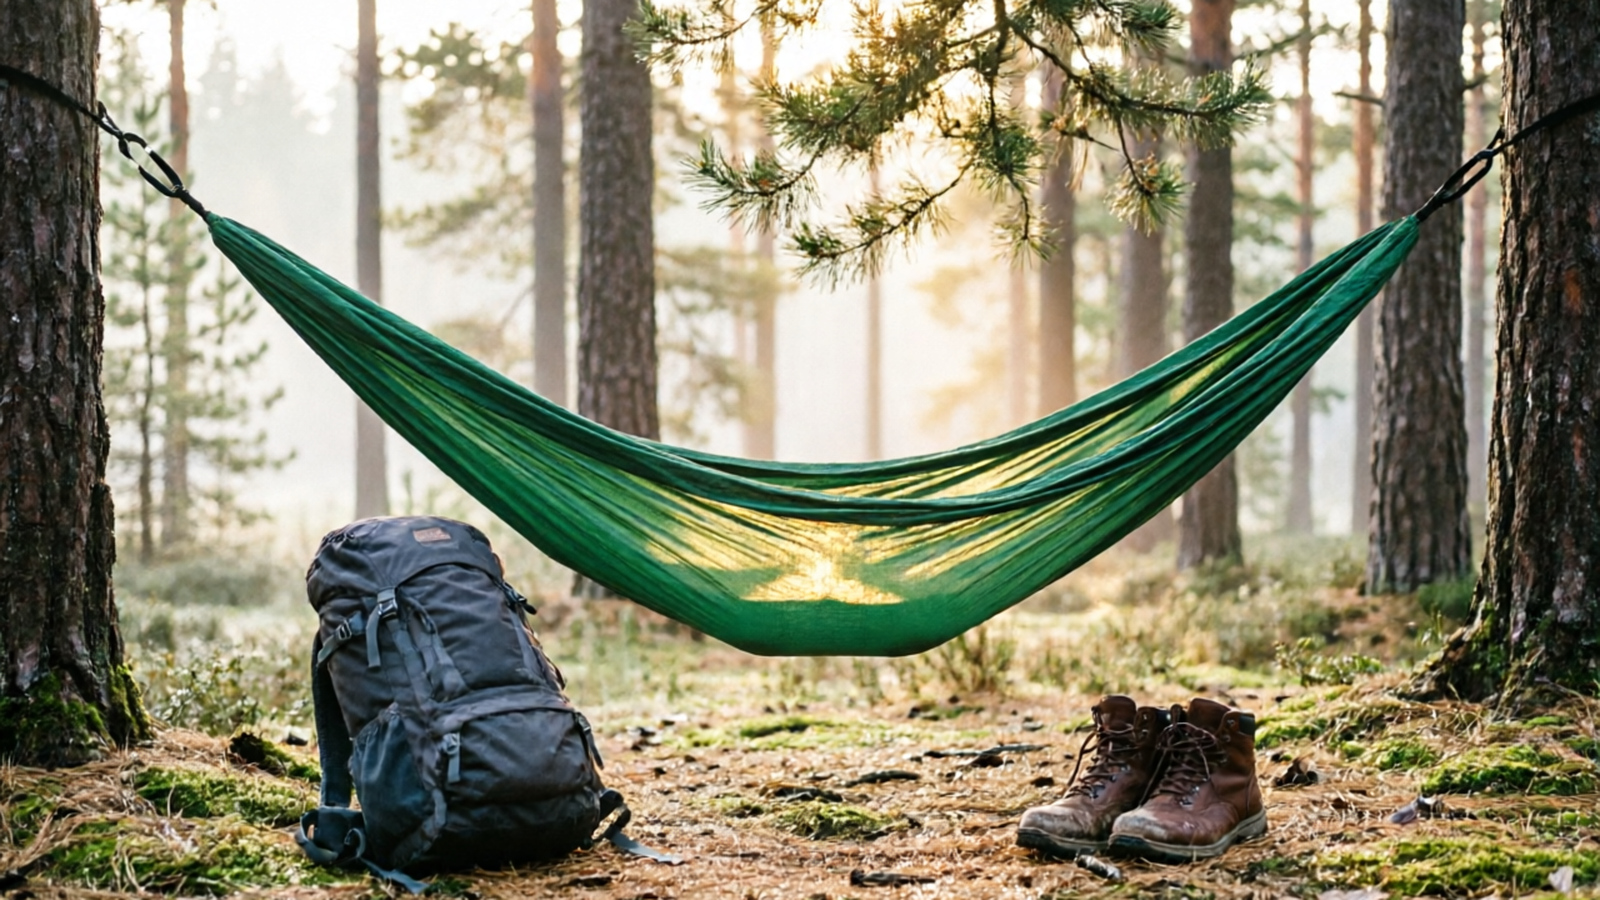
The two dominant hammock shapes serve different needs. Gathered-end hammocks are the classic parachute-fabric rectangles that bunch at each end. They weigh 14-24 oz, pack to the size of a grapefruit, and cost $15-40. The trade-off: they create a slight banana shape that requires a diagonal sleep angle to feel flat. About 90% of backpacking hammocks are gathered-end.
Bridge hammocks use spreader bars at head and foot to create a flat, bed-like surface without the diagonal trick. They are more comfortable for back sleepers but weigh 40-60 oz and cost $150-300. Bridge hammocks are best for base camping or car camping where weight matters less than sleep quality.
For most backpackers, a gathered-end hammock like the Kootek at $14.99 or Wise Owl at $31.99 is the right starting point.
Common mistake: Buying a bridge hammock for ultralight backpacking. At 3+ lbs, a bridge hammock defeats the weight advantage that makes hammock camping attractive.
Step 2 — Choose Single vs Double Width
Single hammocks are 4-5 ft wide; doubles are 6-7 ft wide. The wider fabric of a double lets you lie flatter diagonally, which most people find more comfortable. The trade-off: doubles weigh 6-10 oz more and are bulkier in your pack.
For backpackers under 6 ft and 200 lbs, a single is sufficient. For larger campers or those who toss and turn, the SZHLUX Double at $15.99 gives more fabric for a flatter lie at minimal weight penalty.
Common mistake: Assuming a “double” means two people sleep comfortably. Two people in a double hammock are pressed together at the center — functional for car camping but not restful for backpacking.
Step 3 — Match Material to Season
70D nylon taffeta is the budget standard: durable, affordable, but heavier (1.5-2 lb) and less breathable. 30D-40D ripstop nylon is the ultralight choice: half the weight, packs smaller, but costs more and snags easier on bark. Polyester is the budget alternative: UV-resistant and doesn’t stretch, but heavier and less packable.
For 3-season backpacking, ripstop nylon in 30-40D is the sweet spot. For car camping or casual use, 70D nylon is fine and saves $10-15. The SEWANTA at $17.99 uses durable nylon that balances weight and longevity.
Step 4 — Understand Suspension Systems
Your hammock needs to attach to trees, and the suspension system determines setup speed, weight, and adjustability.
Tree straps (webbing) are 6-12 ft loops of flat nylon webbing that wrap around trees. They are beginner-friendly, tree-safe (no bark damage), and non-stretch. Most budget hammocks include basic straps. Upgraded straps with multiple attachment loops allow fine-tuning without retying.
Whoopie slings are continuous-loop amsteel rope that adjusts by pulling a splice. They weigh less than 2 oz per pair and adjust infinitely, but cost $20-40 extra and require learning the knot system.
Dutch clips and carabiners speed up setup by eliminating the need to thread straps through loops. They add 1-3 oz per pair but save 2-3 minutes per hang.
Step 5 — Decide on Accessories
A bare hammock is fine for summer afternoon lounging. For overnight camping, you need three add-ons:
Mosquito net: A must-have in bug season. Built-in nets come on premium models like the Rivenlo 3-in-1 ($89.99). Separate nets cost $15-30 and hang from a ridgeline above the hammock.
Rain fly (tarp): Blocks rain and wind. An 8x6 ft diamond tarp is the minimum for 3-season use; a 10x10 ft square gives more coverage for storms. Expect $25-80 for silnylon, $80-150 for Dyneema.
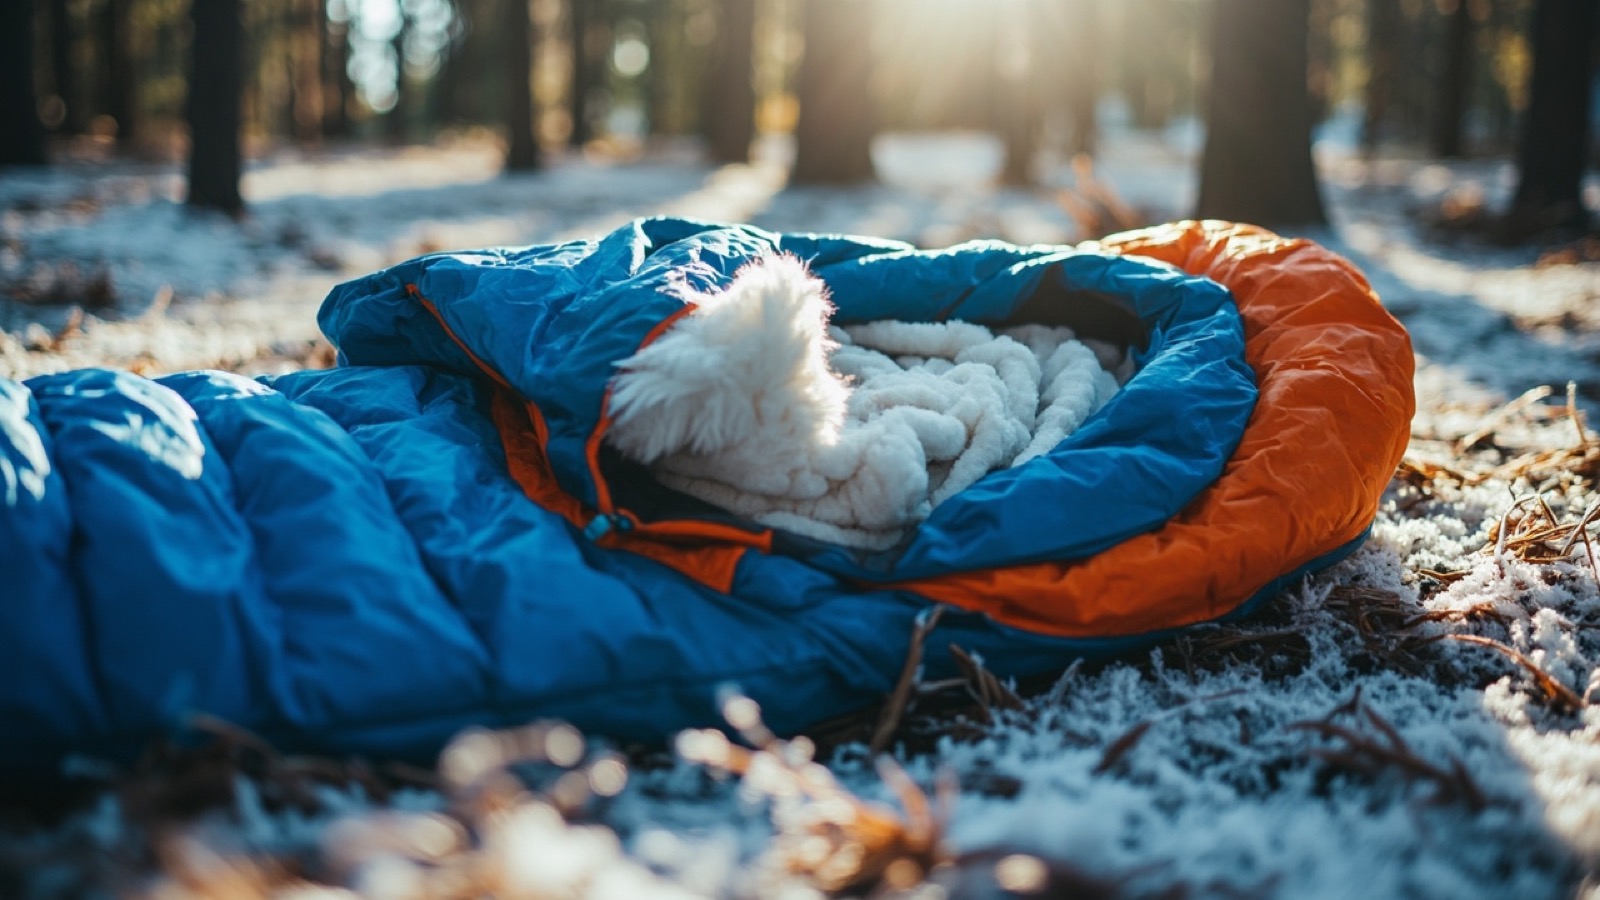
Underquilt: Insulates beneath you where compressed sleeping bags lose loft. A 20°F underquilt weighs 20-28 oz and costs $50-150. Without one, nights below 60°F feel cold.
Gathered-End vs Bridge Hammocks — Which Is Right?
Gathered-End — The Backpacking Standard
Gathered-end hammocks are the most common type for good reason: they weigh under 2 lbs, pack to 4x6 inches, and cost $15-40. The parachute nylon fabric breathes well in summer and dries fast when wet. The key to comfort is the diagonal lie — rotating 30 degrees from centerline creates a flat surface.
The trade-off is the “cocoon” feeling. Some side sleepers find gathered-end hammocks claustrophobic, and the gathered ends can press against shoulders. For restless sleepers, a bridge hammock may be better.
Bridge Hammocks — Flatter Sleep, Heavier Pack
Bridge hammocks use aluminum or carbon fiber spreader bars at each end to keep the fabric taut and flat. This eliminates the banana curve and makes side sleeping natural. Brands like Warbonnet Ridgerunner and Jacks ‘R’ Better are popular among base campers.
The downside: spreader bars add 1-2 lbs, the wider profile catches more wind, and setup requires more precision to get the hang angle right. Bridge hammocks also cost $150-300, significantly more than gathered-end alternatives.
When to Choose Each
Choose gathered-end for: ultralight backpacking (under 2 lb system), budget-conscious ($15-40), warm weather, beginners. Choose bridge for: side sleepers, winter base camping, larger campers (6’+), anyone who finds gathered-end hammocks uncomfortable.
Suspension Systems Explained
Tree Straps (Webbing) — Beginner Friendly
Polyester webbing straps are the default suspension for most camping hammocks. They are 0.75-1 inch wide, 6-12 ft long, and feature 10-15 attachment loops spaced every 4-6 inches. To set up: wrap the strap around a tree, pass one end through the other, and clip your hammock’s carabiner into the loop at the right height.
Straps are tree-safe because the wide webbing distributes pressure — no bark damage even with heavy loads. The main limitation: they stretch slightly under load (1-2 inches), so you need to re-adjust after the first night.
Whoopie Slings — Ultralight Adjustable
Whoopie slings use Amsteel Blue (a Dyneema composite cord) in a continuous loop that adjusts by pulling a buried splice. At 1.5 oz per pair, they’re the lightest adjustable suspension available. They don’t stretch, don’t absorb water, and last thousands of cycles.
The barrier: cost ($25-40 per pair) and a learning curve. You also need tree huggers (short webbing straps) to protect bark, since Amsteel is too thin to wrap directly around trees.
Dutch Clips and Carabiners — Quick Setup
Dutch clips are titanium or aluminum gates that snap onto tree straps, letting you attach or detach the hammock in seconds. At 0.4 oz each, they add negligible weight and save 2-3 minutes per hang. Most hammock backpackers carry 2-4 clips for daily setup efficiency.
Sleeping Comfort in a Hammock
The Diagonal Lie — Finding Flat
The single most important technique for hammock comfort is the diagonal lie. Instead of lying along the centerline (head at one end, feet at the other), rotate your body 25-30 degrees so your shoulders and feet align with opposite corners. This flattens the fabric and eliminates the banana curve. Most beginners sleep terribly their first night because they lie straight — the diagonal makes all the difference.
Underquilts vs Sleeping Pads
Below 60°F, compressed sleeping bag insulation under your body loses its loft, and you’ll freeze from underneath. Two solutions: a closed-cell foam pad ($15-25, 8-14 oz) or an underquilt ($50-150, 18-28 oz). Pads are cheaper but shift during the night and create condensation. Underquilts hang below the hammock and insulate without compression — warmer, more comfortable, but more expensive. See our best camping sleeping bags review for sleep system pairing.
Top Quilts and Bug Nets
A top quilt replaces your sleeping bag’s zipper and hood — it’s basically a blanket designed for hammock use. At 18-24 oz for a 20°F top quilt, they save 6-10 oz over equivalent sleeping bags. Bug nets are a must in mosquito season and come built-in on models like the Rivenlo 3-in-1 or as standalone accessories.
Setup Tips for First-Time Hammock Campers
Choosing Trees (Distance, Diameter, Bark)
Find two live trees 12-18 ft apart, each at least 6 inches in diameter. Avoid dead trees (widowmakers), smooth-barked species like birch (straps slip), and softwoods with loose bark. Hardwoods like oak, maple, and pine are ideal.
Optimal Hang Angle (30 Degrees)
The suspension should leave the tree at a 30-degree angle from horizontal. Too steep and the hammock feels like a taut clothesline; too flat and you bottom out. The “rule of thumb”: your hammock should sag so the lowest point is about chair-height (18 inches) when you sit in it.
Common Beginner Mistakes
- Hanging too high (3+ ft) — hard to enter, scary to fall from
- Hanging too tight — feels like sleeping on a board
- Forgetting the diagonal lie — spends a miserable night
- Skipping the underquilt — freezes at 3 AM
- Using rope instead of straps — damages bark and stretches
Weight Capacity and Safety Margins
Every camping hammock lists a weight capacity — typically 300-500 lbs. This number is the manufacturer’s tested maximum, not a recommended operating weight. It isn’t what you should load it with daily. Always subtract 50 lbs for a real-world safety margin. A 400 lb-rated hammock is comfortable up to 350 lbs; beyond that, fabric stress increases and tree strap failure becomes a risk.
The most common failure point isn’t the hammock fabric but the suspension system. Cheap carabiners bend under load, and thin webbing straps cut into soft bark on hot days. Always use straps at least 0.75 inches wide, and replace carabiners that show visible wear.
Cost Comparison: Hammock System vs Tent System
A complete hammock sleep system costs less than an equivalent tent system for 3-season use:
| Component | Hammock System | Tent System |
|---|---|---|
| Shelter | $15-40 (hammock + straps) | $80-200 (tent) |
| Insulation (under) | $50-100 (underquilt) | $25-50 (sleeping pad) |
| Insulation (top) | $50-100 (top quilt) | $50-150 (sleeping bag) |
| Bug protection | $0-30 (net) | $0 (built-in) |
| Rain protection | $25-80 (tarp) | $0 (built-in) |
| Total (3-season) | $140-350 | $155-400 |
Hammock systems are slightly cheaper for 3-season but cost more for winter (specialized underquilts). The real cost advantage is modularity — you can upgrade individual components without replacing everything.
Hammock Care and Maintenance
Cleaning Your Hammock
Hand-wash parachute nylon hammocks in a sink or tub with mild detergent and cool water. Machine washing on gentle cycle works for budget models but shortens fabric life. Never use bleach or fabric softener — both degrade nylon fibers. Air dry only; machine drying melts synthetic fabric.
Storage Between Trips
Store hammocks uncompressed in a loose cotton or mesh bag, not stuffed tight in a compression sack. Long-term compression permanently reduces fabric loft and elasticity. Keep away from direct sunlight (UV degrades nylon) and moisture (prevents mildew). A closet shelf is ideal; a hot car trunk isn’t.
When to Replace
Parachute nylon hammocks last 3-5 years of regular use. Signs it’s time to replace: visible thinning at stress points (gathered ends, suspension attachment), frayed stitching along seams, or fabric that feels stiff and papery. A failing hammock does not always tear dramatically — it can develop slow leaks that reduce weight capacity without obvious damage.
Which Camping Hammock Should You Buy?
For ultralight summer weekends, the Kootek at $14.99 is the lightest budget option. For 3-season versatility, the Wise Owl Outfitters at $31.99 hits the sweet spot. For couples or larger campers, the SZHLUX Double at $15.99 gives maximum fabric. For buggy environments, the Rivenlo 3-in-1 at $89.99 includes net + rain fly. For day hikes and backyard use, the SEWANTA at $17.99 is the most portable.
For deeper product reviews — including pros, cons, and field testing notes — see our complete camping hammocks review. For the rest of your backpacking sleep system, check our backpacking sleeping bags review and the backpacking guide.
Hammock Camping in Different Seasons
Summer (60°F+ Nights)
Summer is the easiest season for hammock camping. You need only the hammock, a light sleeping bag or top quilt (40°F rating), and a bug net if mosquitoes are active. Skip the underquilt — ambient air temperature keeps you warm enough. The SEWANTA at $17.99 is ideal for summer with its breathable nylon and 1.4 lb packed weight.
Watch for heat rash in humid climates. A 30D nylon hammock breathes better than polyester in this conditions. If you sweat through your sleeping bag, switch to a lightweight cotton or merino liner.
Shoulder Season (40-60°F Nights)
Shoulder season (spring and fall) is when most beginners get caught unprepared. Days are pleasant but nights drop below 50°F, and the “cold butt syndrome” hits hard without an underquilt. You need:
- 20-40°F underquilt ($50-100)
- 20-30°F top quilt or sleeping bag
- Rain fly for unpredictable weather
- Extra clothing layer for 3 AM temperature drops
The Wise Owl paired with a 20°F underquilt is a solid 3-season setup under $100 total.
Winter (Below 40°F Nights)
Winter hammock camping is an advanced skill that requires specific gear. You need a 0°F underquilt, a 0°F top quilt, a winter-rated rain fly (10x10 ft minimum for wind block), and insulating layers for your head and feet.
The critical risk in winter is “cold spot” formation — gaps in your underquilt where cold air infiltrates. Proper underquilt positioning and shock cord tension eliminates these gaps. Never use a sleeping pad alone in winter hammock camping — it isn’t sufficient below 30°F.
Winter hammock camping is popular above treeline where snow accumulation makes tent pitching difficult. Hammocks keep you off the snow entirely. However, you must have suitable trees — desert and alpine environments still require a tent. See our best winter camping sleeping bags for winter-specific sleep systems.
Hammock Camping vs Tent Camping — When to Choose Each
Choose a Hammock When
- Trees are available (forest, woodland, riverside)
- Ground is rocky, sloped, wet, or uneven
- You are backpacking solo in warm-to-moderate temperatures
- You want to save weight (gathered-end system 2-3 lb vs tent 3-5 lb)
- You camp in areas with frequent rain (hammocks stay dry above ground)
Choose a Tent When
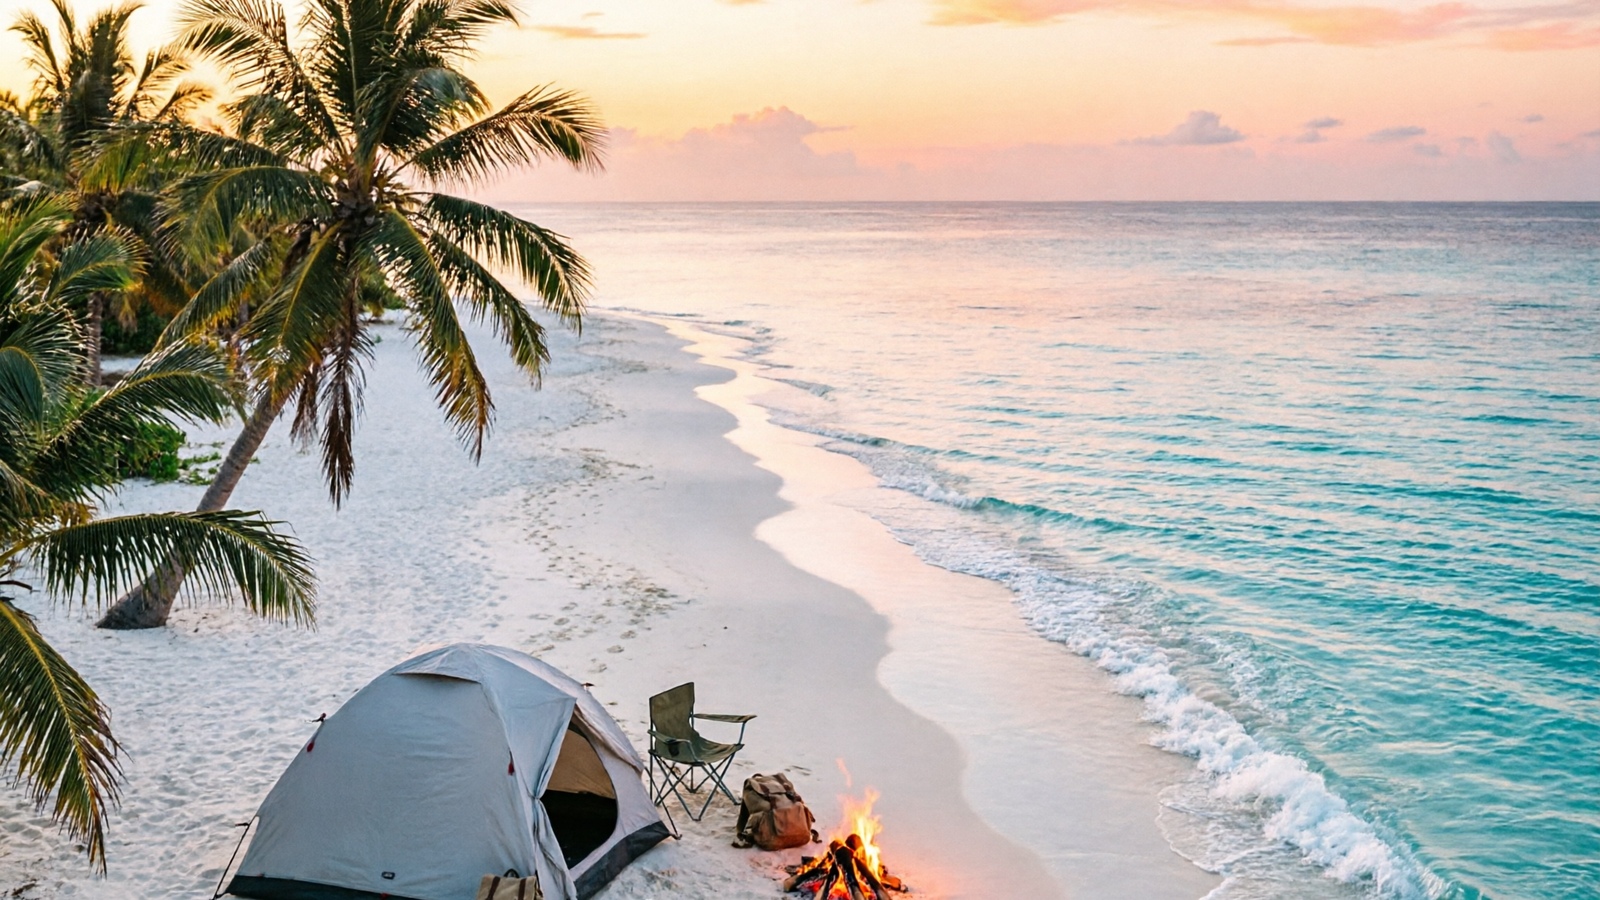
- No trees available (desert, alpine, above treeline, beach)
- You camp with a partner or group (tents are more efficient for 2+ people)
- Winter temperatures drop below 20°F (tent + sleeping pad is warmer)
- You need enclosed storage for gear
- You camp in exposed, high-wind areas (hammocks swing in wind)
Many backpackers carry both — a hammock for forest trips and a tent for desert/alpine. The best camping tents review covers tent options for when trees aren’t available.
Frequently Asked Questions
Is hammock camping comfortable?
Yes, when set up correctly. The key is lying diagonally across the fabric rather than straight along the centerline. This creates a flat surface that supports your back. Most backpackers find gathered-end hammocks more comfortable than sleeping on rocky or sloped ground, especially when paired with an underquilt for insulation.
Do I need a sleeping pad in a hammock?
You need a sleeping pad or underquilt below 60°F. Compressed sleeping bag insulation under your body weight loses its loft, so you need a separate insulating layer underneath. Closed-cell foam pads are cheapest; underquilts are warmer and more comfortable but cost $50-150.
Can two people sleep in a double hammock?
Yes, but it's cramped. Double hammocks (10-11 ft long, 6-7 ft wide) hold 400-500 lbs, but both sleepers are pushed together in the center. For couples who move in their sleep, a double hammock can be claustrophobic. Most experienced backpackers recommend separate singles.
Are hammocks lighter than tents?
A basic gathered-end hammock with tree straps weighs 16-24 oz — lighter than most one-person tents (40-70 oz). However, once you add an underquilt, top quilt, mosquito net, and rain fly, a full hammock sleep system can weigh as much as a tent system. The weight advantage is mainly for warm-weather trips.
What's the weight limit for camping hammocks?
Single camping hammocks typically support 300-400 lbs. Double hammocks support 400-500 lbs. Always check the manufacturer rating and subtract 50 lbs for a safety margin. Tree strap failure, not fabric failure, is the most common cause of collapses.
Can I use a camping hammock in winter?
Yes, with proper insulation. You need an underquilt rated 0-20°F, a top quilt or sleeping bag, and a rain fly to block wind. Winter hammock camping is popular among ultralight backpackers because hammocks don't accumulate snow on the floor like tents. However, you need trees — above treeline winter camping still requires a tent.