How to Build a Campfire: 4 Step-by-Step Methods
Learn how to build a campfire with teepee, log cabin, lean-to, and platform methods. Step-by-step instructions with safety tips for beginners.
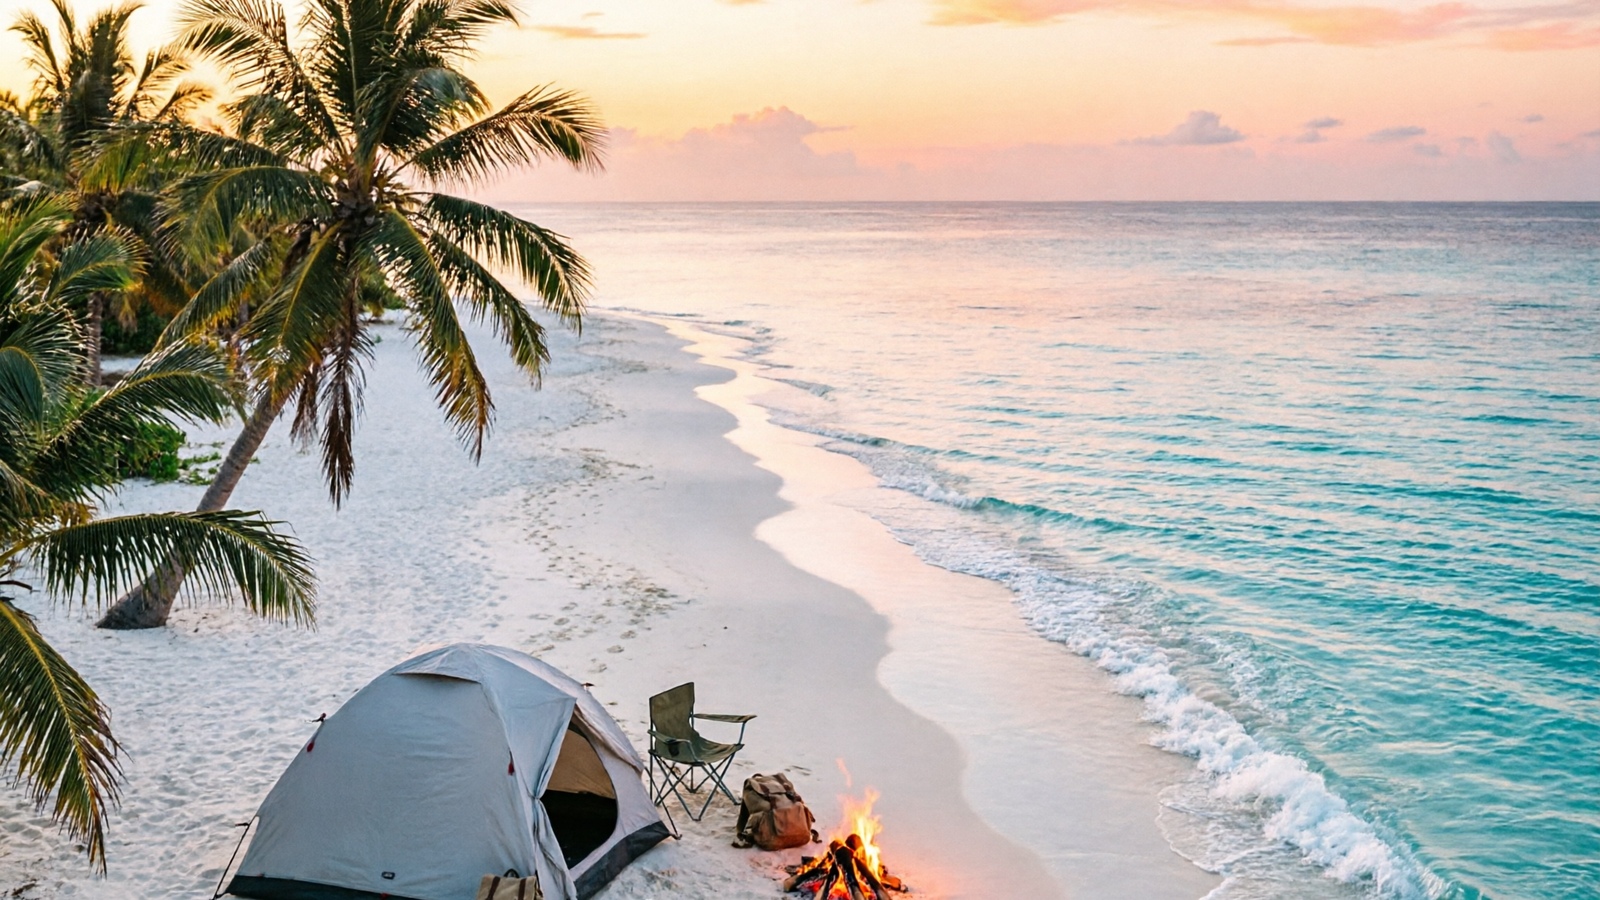
Building a campfire is one of the most satisfying outdoor skills you can learn. It provides warmth, a way to cook food, a morale boost after a long day on the trail, and in emergencies, it can save your life. Humans have been building fires for over 400,000 years. Learning how to build a campfire properly — you’re learning a skill that literally built civilization [source: Nature journal, Wrangham 2009].
Whether you want to know how to start a campfire from scratch or refine your fire-building technique, this guide covers four campfire methods with step-by-step instructions, how to gather the right materials, safety rules, and troubleshooting for when things go wrong. For broader outdoor safety, see our camping safety tips guide.
The Fire Triangle: What Every Campfire Needs
Every fire needs three things: heat, fuel, and oxygen. Remove any one and the fire dies. Understanding this triangle prevents most failed campfire attempts.
Heat comes from your ignition source — a match, lighter, or ferro rod. Fuel is your tinder, kindling, and firewood, arranged from smallest to largest. Oxygen flows through gaps between your wood; pack things too tight and the fire suffocates.
Here’s the material breakdown by size:
| Material | Thickness | Examples | Burns For |
|---|---|---|---|
| Tinder | Pencil-thin | Dry leaves, birch bark, dryer lint | Seconds to 1 min |
| Kindling | Thumb-thick | Dry twigs, split sticks | 5–15 minutes |
| Fuel | Wrist-thick+ | Hardwood logs (oak, maple) | 30 min – 2+ hours |
Gathering the Right Materials
Tinder catches fire from a single spark. Dry leaves, birch bark, cattail fluff, dryer lint, and cotton balls smeared with petroleum jelly all work well. Birch bark is the gold standard — it burns even when wet because the oils are highly flammable.
Kindling bridges the gap between tinder and fuel. Gather dry sticks from pencil to thumb thickness. Snap a few — if they break cleanly with a sharp crack, they’re dry enough. If they bend, they’re too green.
Fuel wood keeps the fire going. Hardwoods like oak, maple, and hickory burn longest and hottest. Softwoods like pine catch easily but burn fast and create more sparks. Gather wood that’s wrist-thick or larger for sustained heat.
Always gather three times more than you think you need. Running out of wood at midnight is a mistake you only make once. Pack your own tinder as a backup — see our car camping checklist for what to bring.
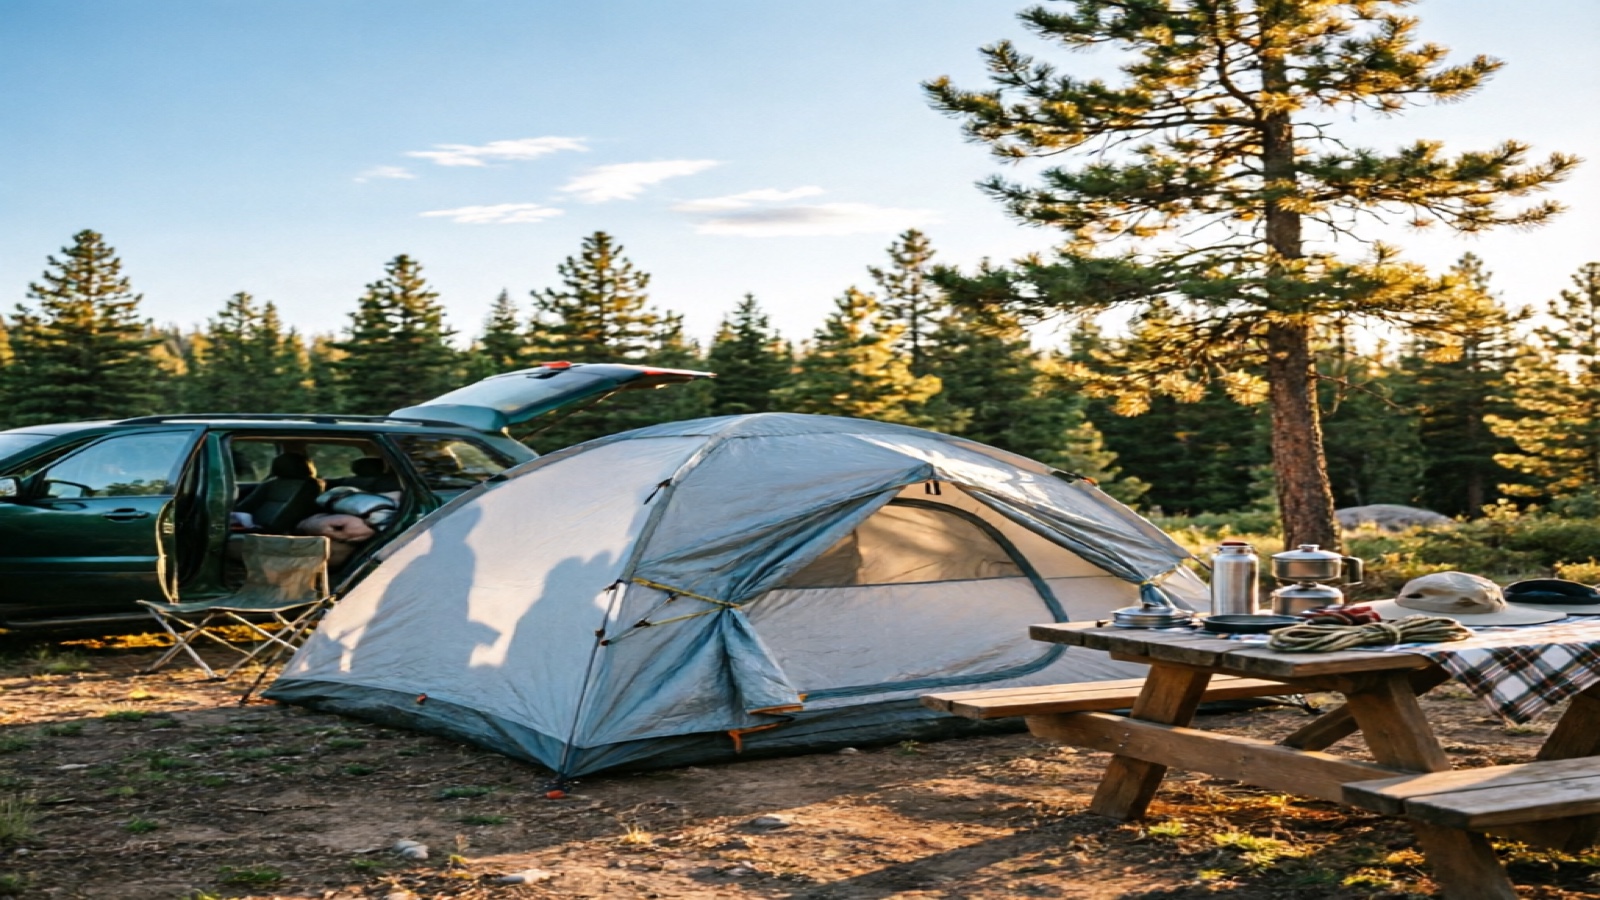
Preparing Your Fire Site
A solid campfire setup starts with location. Choose a spot at least 10 feet from tents, trees, and overhanging branches. Check wind direction — you don’t want sparks blowing toward your tent or dry vegetation.
Clear a 3-foot circle down to mineral soil. Remove all leaves, grass, and roots. Use an existing fire ring if one exists; if not, build one with rocks.
Avoid river rocks — moisture trapped inside can cause them to explode when heated.
Keep a water bucket and shovel within arm’s reach before you light anything. For full fire safety protocol, see our camping safety tips guide.
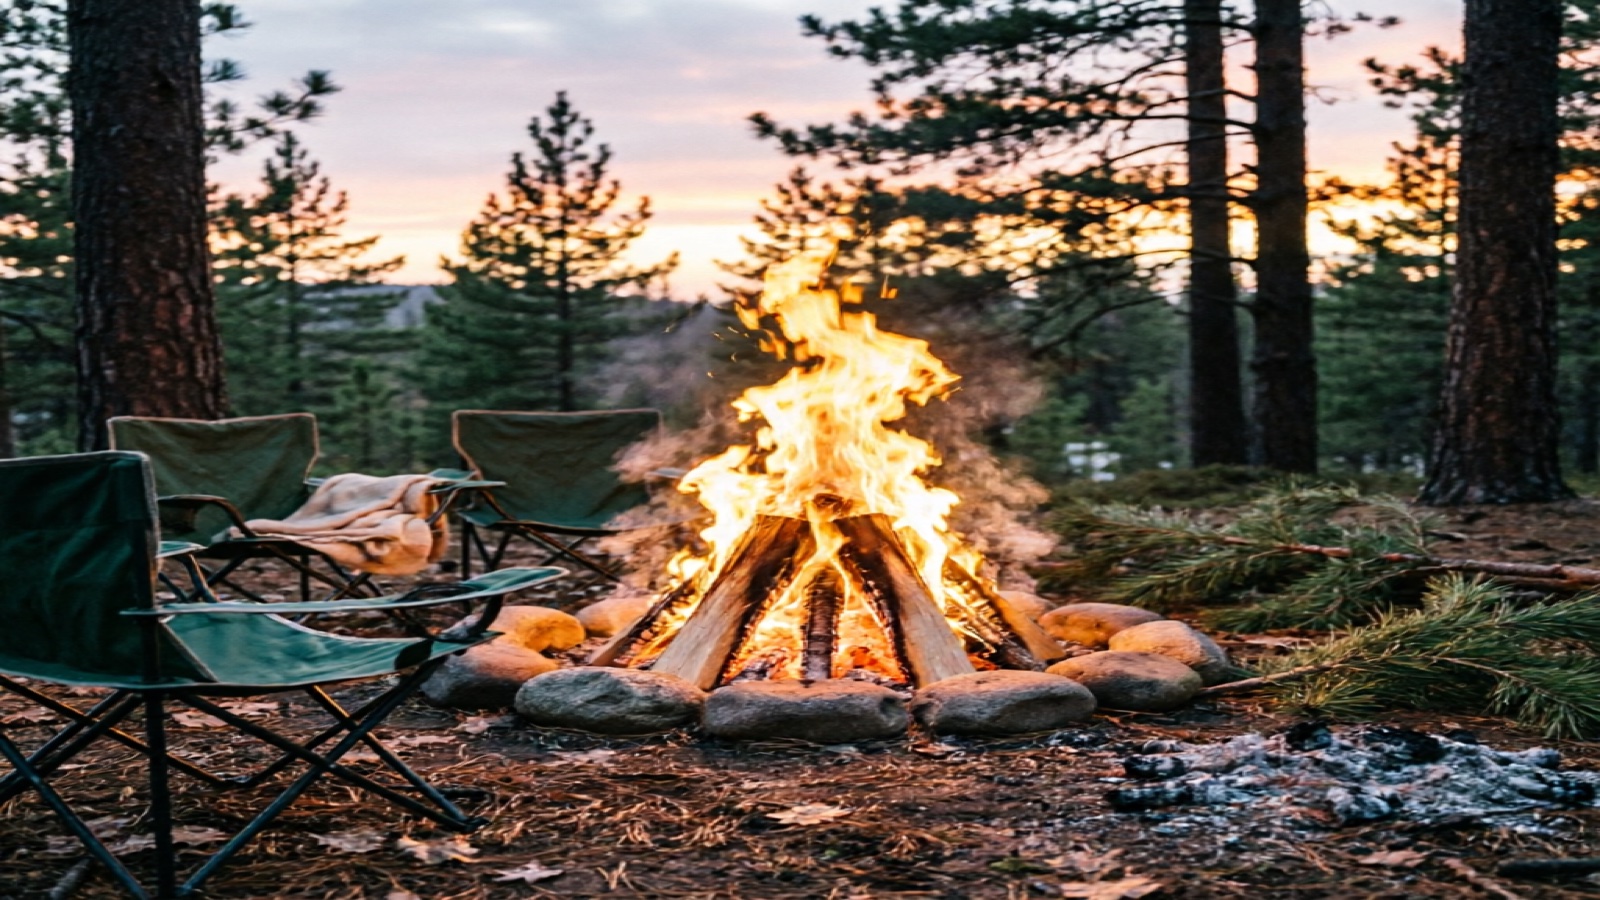
Method 1 — Teepee Campfire (Best for Beginners)
The teepee campfire is the simplest method to build and the best starting point for beginners. It lights quickly and produces a tall, hot flame.
- Place a handful of tinder in the center of your fire ring
- Build a cone of small kindling sticks around the tinder, leaning them against each other
- Leave an opening on the windward side so you can reach the tinder to light it
- Light the tinder from the bottom through the opening
- As the kindling catches, add larger sticks in the same teepee shape
- Once the fire is established, transition to adding fuel logs
The teepee’s strength is speed — it goes from spark to full fire fast. The downside is that it collapses as it burns, which means you need to feed it constantly. Best for boiling water quickly or getting a fire going in a hurry.
Method 2 — Log Cabin Campfire (Best for Cooking)
The log cabin produces the most consistent, long-lasting fire of the four methods. It’s the one to use when you’re cooking or sitting around the fire for hours.
- Place two thick fuel logs parallel to each other, about 8 inches apart
- Lay two slightly thinner logs across them at right angles, forming a square
- Place a handful of tinder and small kindling in the center of the square
- Continue alternating layers, using thinner logs each time, building up like a cabin
- Leave finger-width gaps between logs for airflow
- Light the tinder in the center — the fire grows upward through the structure
The log cabin is stable, burns evenly, and creates a flat bed of coals perfect for cooking. It takes more wood and setup time than a teepee, but once lit, it largely maintains itself.
Method 3 — Lean-To Campfire (Best for Wind)
The lean-to is your go-to method when the wind won’t cooperate. It uses a single thick log as a windbreak to shelter the flame.
- Lay a thick log on the ground facing into the wind
- Place a tinder bundle against the log on the leeward (sheltered) side
- Lean kindling sticks against the log, covering the tinder
- Light the tinder from the protected side
- Add more kindling and then fuel logs as the fire establishes
The lean-to works in wind and light rain because the log shields the flame. It’s efficient with materials and works well for solo campers who only need a small fire. The trade-off: it’s one-directional, so heat radiates from only one side.
Method 4 — Platform (Upside-Down) Campfire (Best for Overnight)
Also called the “upside-down fire,” this method burns for 6 to 8 hours with minimal maintenance — ideal for keeping warm through a cold night.
- Lay your thickest fuel logs flat on the bottom, parallel and touching
- Add a layer of slightly smaller logs across them at right angles
- Repeat for 3 to 4 layers, each one using thinner wood
- Place tinder and kindling on the very top layer
- Light from the top — the fire burns downward through each layer
The platform fire is counterintuitive but effective. Each layer ignites the one below it as it burns downward.
The downside: slow to start and uses a lot of wood upfront. Once established, it needs almost no tending.
Which Fire Lay Method Should You Choose?
| Method | Difficulty | Burn Time | Wind Resistance | Best For |
|---|---|---|---|---|
| Teepee | Easy | Short (30–60 min) | Low | Quick start, boiling water |
| Log cabin | Medium | Long (1–3 hours) | Medium | Cooking, social fires |
| Lean-to | Easy | Medium (1–2 hours) | High | Windy or wet conditions |
| Platform | Medium | Longest (6–8 hours) | Medium | Overnight warmth |
Solo camper boiling water? Teepee. Cooking dinner for a group? Log cabin. Windy ridgeline? Lean-to. Want to sleep through the night without feeding the fire? Platform.
A common approach: start with a teepee to get things going, then transition to a log cabin once you have a coal bed.
Lighting Your Campfire (4 Ways)
Waterproof matches are the simplest option. Strike them low and shield the flame with your hand. Keep them in a waterproof container — wet matches are useless.
A lighter works well in calm conditions. In cold weather, warm the lighter in your hand first — butane lighters struggle below freezing. Hold the flame to the tinder, not above it — heat rises.
A ferro rod (fire steel) is the survival standard because it works wet, cold, and at altitude. Scrape the rod hard with the striker at a 45-degree angle, aiming sparks into your tinder. It takes practice but works in any condition.
A magnifying glass is emergency-only — it needs direct sunlight and takes patience. Focus the sunbeam onto dark tinder until it smolders, then gently blow it into flame.
For more fire-starting tricks, see our camping hacks guide.
Common Mistakes and Troubleshooting
| Problem | Cause | Solution |
|---|---|---|
| Fire won’t catch | Wet or green wood | Find dry standing dead wood; snap-test sticks |
| Fire keeps dying | Too little oxygen | Pull logs apart; leave finger-width gaps |
| Smoky, no flame | Wet ground or green wood | Build a bark platform first; switch to dry wood |
| Big logs won’t ignite | Added too early | Let kindling establish a coal bed first |
| Sparks flying everywhere | Softwood (pine) or damp wood | Switch to hardwood; keep fire under 2 feet tall |
Fire won’t start at all? Go back to basics: bone-dry tinder, shielded from wind, with good airflow. If you can’t find dry tinder, split a thick dead branch — the inside is usually dry even after rain.
How to Properly Extinguish a Campfire
- Drown it — pour water slowly over the fire, not dumping. A sudden dump can scatter embers
- Stir — mix the ashes and embers with a stick or shovel to expose hot spots
- Drown again — add more water and stir
- Feel — hover the back of your hand near the ashes. If it’s too hot to touch, it’s too hot to leave
Never bury a fire with dirt — it can smolder for hours underground and reignite. The only safe campfire is a cold campfire. Scatter the cool ashes when you leave [source: Smokey Bear / USFS guidelines, smokeybear.com].
Campfire Safety Rules
- Never leave a fire unattended, even for a minute
- Keep fires under 3 feet wide and 2 feet tall
- Clear flammable materials within 10 feet of the fire
- Don’t build under low branches or near root systems (roots can catch fire underground)
- Check local fire restrictions before your trip — many areas ban fires during dry season
- Keep kids and pets at least 3 feet from the fire
- Always have water and a shovel within reach
- If the wind picks up, reduce the fire size or put it out entirely
For fire regulations at federal campgrounds, see our national park camping guide. If your campsite doesn’t allow open fires, a portable camping fire pit is a clean alternative that works in more locations.
Frequently Asked Questions
How to make a campfire for beginners?
Use the teepee method. Place tinder in the center, build a cone of kindling around it, light from the bottom, and add fuel logs as it grows. Keep water and a shovel nearby.
How to build a campfire in steps?
Clear a 10-foot area, build a rock fire ring, place tinder in the center, stack kindling over the tinder, light from the windward side, and add fuel logs gradually. Never leave the fire unattended.
How to build a perfect campfire?
Use dry wood in three sizes: pencil-thin tinder, thumb-thick kindling, and wrist-thick fuel. The log cabin method gives the most consistent fire. Leave finger-width gaps between logs for airflow.
How to arrange campfire logs?
Use the log cabin method — alternate layers at right angles like building a cabin. Thicker logs go on the bottom, thinner on top. Leave gaps for airflow between each log.
What is the easiest campfire to build?
The teepee fire. Lean kindling in a cone over tinder — it lights fast, produces a tall flame, and requires no special skills.
How do you start a campfire without lighter fluid?
Use dry tinder like birch bark, dry leaves, or cotton balls with petroleum jelly. Build a teepee or lean-to over the tinder and light with a match or ferro rod. Lighter fluid is dangerous and prohibited at most campsites.
How to keep a campfire going in the wind?
Build a windbreak with rocks or logs on the windy side. Use the log cabin method — it’s more stable in wind than teepee. Add wood from the leeward side and consider digging a shallow pit for extra protection.
The Bottom Line
Learning how to build a campfire step by step is a practiced skill, not a talent. Start with the teepee method, graduate to log cabin when you want longer burns, use lean-to in wind, and save the platform for cold overnight trips. Prepare your materials, respect the fire, and always put it out cold before you leave.
References
- Smokey Bear / USFS Campfire Safety: smokeybear.com
- REI Expert Advice — Campfire Basics: rei.com
- US Forest Service Fire Safety Guidelines: fs.usda.gov
Frequently Asked Questions
How to make a campfire for beginners?
Start with the teepee method — place tinder in the center, build a cone of kindling around it, light from the bottom. Once burning, add larger fuel logs gradually. Keep water and a shovel nearby at all times.
How to build a campfire in steps?
Clear a 10-foot area, build a fire ring with rocks, place tinder in center, stack kindling over tinder, light from the windward side, add fuel logs as the fire grows, and never leave it unattended.
How to build a perfect campfire?
Use dry wood in three sizes: tinder (pencil-thin), kindling (thumb-thick), and fuel (wrist-thick). The log cabin method produces the most consistent, long-lasting fire. Leave finger-width gaps between logs for airflow.
How to arrange campfire logs?
Use the log cabin method: alternate layers of fuel logs at right angles, like building a cabin. Leave finger-width gaps between logs for airflow. Start with thicker logs on the bottom, thinner on top.
What is the easiest campfire to build?
The teepee fire is the easiest for beginners. Lean kindling sticks against each other in a cone shape over tinder. It lights quickly and produces a tall flame, making it perfect for boiling water or quick warmth.
How do you start a campfire without lighter fluid?
Use dry tinder like birch bark, dry leaves, or cotton balls with petroleum jelly. Build a teepee or lean-to structure over the tinder and light with a match or ferro rod. Never use lighter fluid — it's dangerous and often prohibited.
How to keep a campfire going in the wind?
Build a windbreak with rocks or logs on the windy side. Use the log cabin method — it's more stable than teepee in wind. Add wood from the leeward side. Dig a shallow fire pit for extra protection.